So far, we haven’t done anything with soapUI that couldn’t be done with curl and a shell script. One of the advantages of soapUI over curl is the built-in support for groovy scripting .
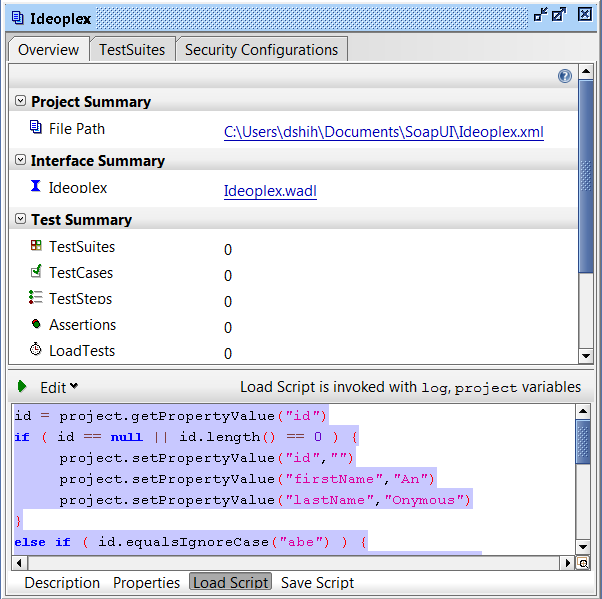
The following example shows the use of a groovy load script to insure that properties are properly initialized. A project load script is specified in the lower load pane of the of the project panel.

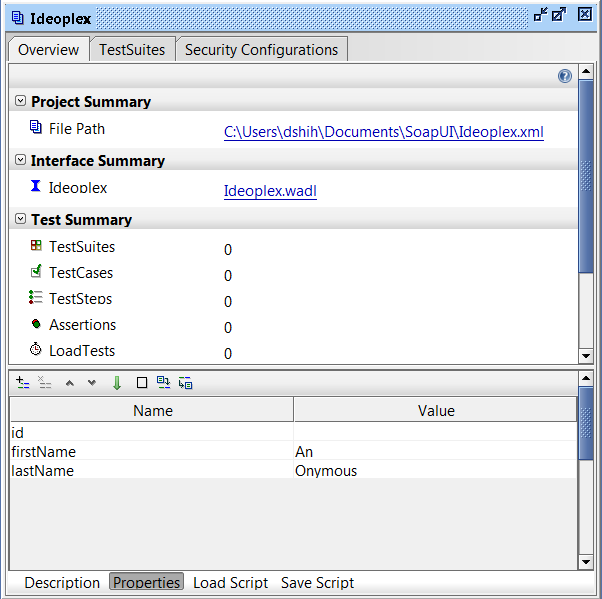
Our example simply looks at the project id property and then sets the firstName and lastName properties appropriately. The load script is automatically executed when the project is loaded and can be manually executed by clicking on the green triangle in the upper left corner above the load script pane.
1
2
3
4
5
6
7
8
9
10
11
12
13
14
15
16
17
18
19
id = project.getPropertyValue("id")
if ( id == null || id.length() == 0 ) {
project.setPropertyValue("id","")
project.setPropertyValue("firstName","An")
project.setPropertyValue("lastName","Onymous")
}
else if ( id.equalsIgnoreCase("abe") ) {
project.setPropertyValue("firstName","Abraham")
project.setPropertyValue("lastName","Lincoln")
}
else if ( id.equalsIgnoreCase("geo") ) {
project.setPropertyValue("firstName","George")
project.setPropertyValue("lastName","Washington")
}
else {
project.setPropertyValue("id","foo")
project.setPropertyValue("firstName","Foo")
project.setPropertyValue("lastName","Bar")
}

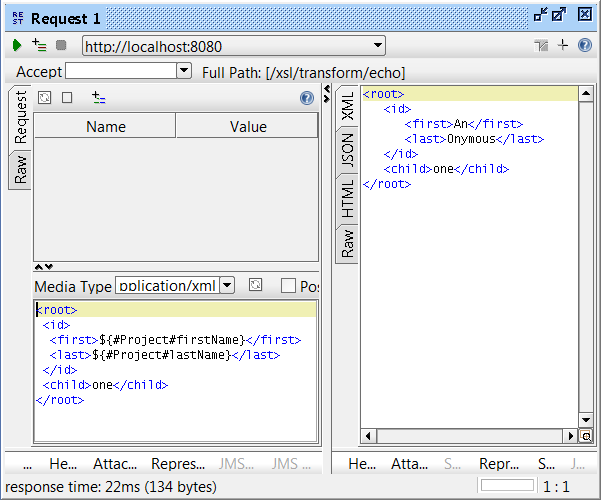
Once the property is defined, then it is easily added to our post data in the form ${#scope#property-name}. There are 3 scopes: Project, TestSuite and TestCase; only Project scope is available at this point. And we can see the property values in the response xml.

You can download the updated soapUI Project File.